

Adding a customer
Walking through the add customer form field by field.
Two ways to add a customer
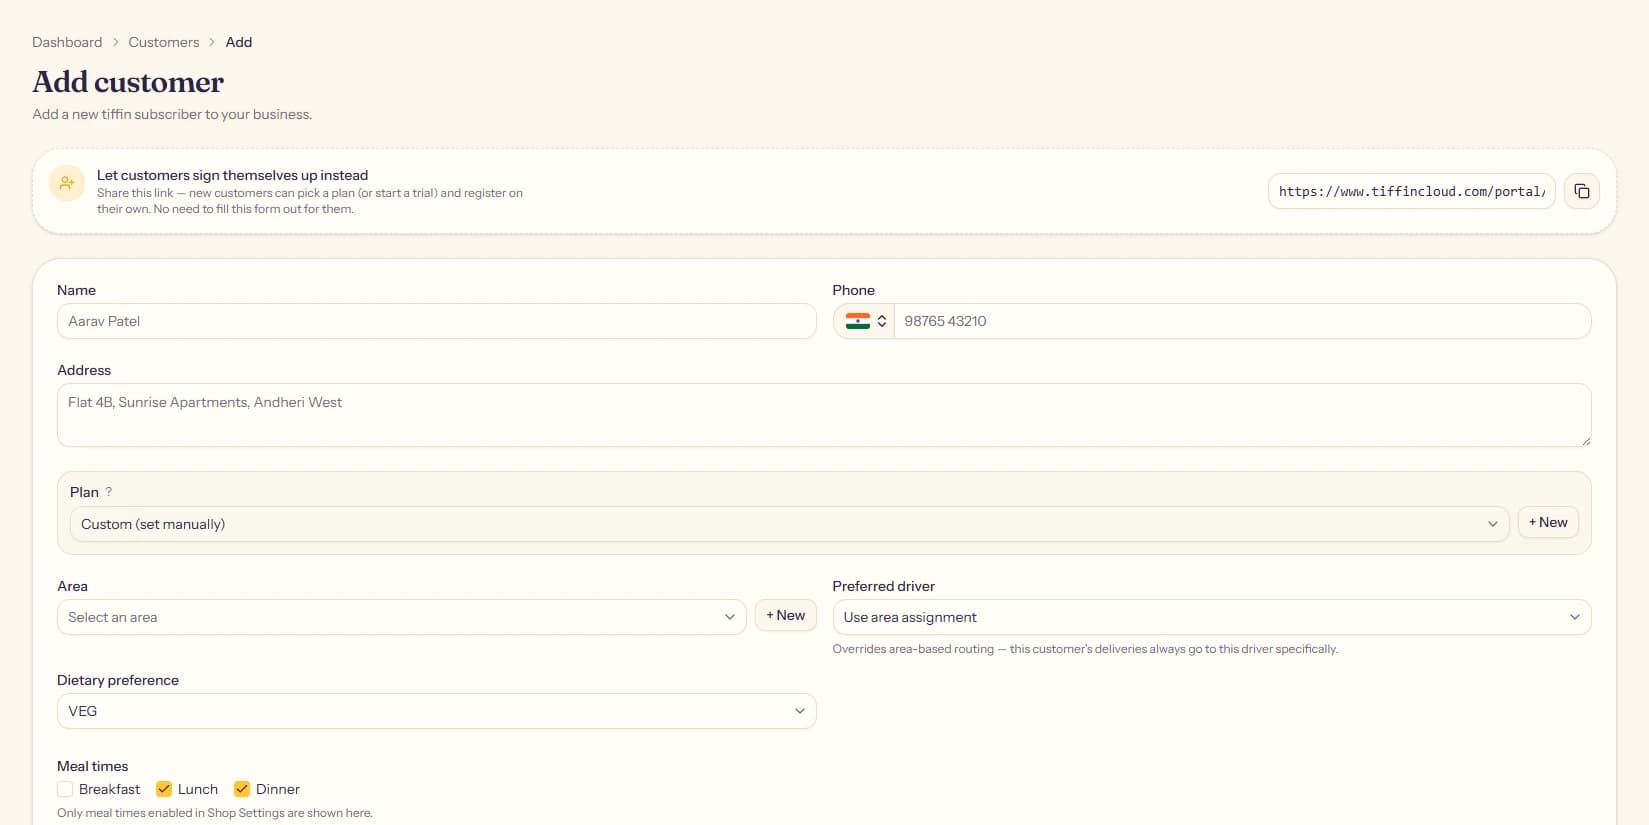
You can fill out the form yourself from Customers → Add Customer, or
send someone your portal registration link and let them sign themselves
up. The link is shown at the top of the add customer page, with a copy
button, it points to tiffincloud.com/portal/your-shop-name/register.
Either path ends up creating the same kind of customer record.
The form, field by field
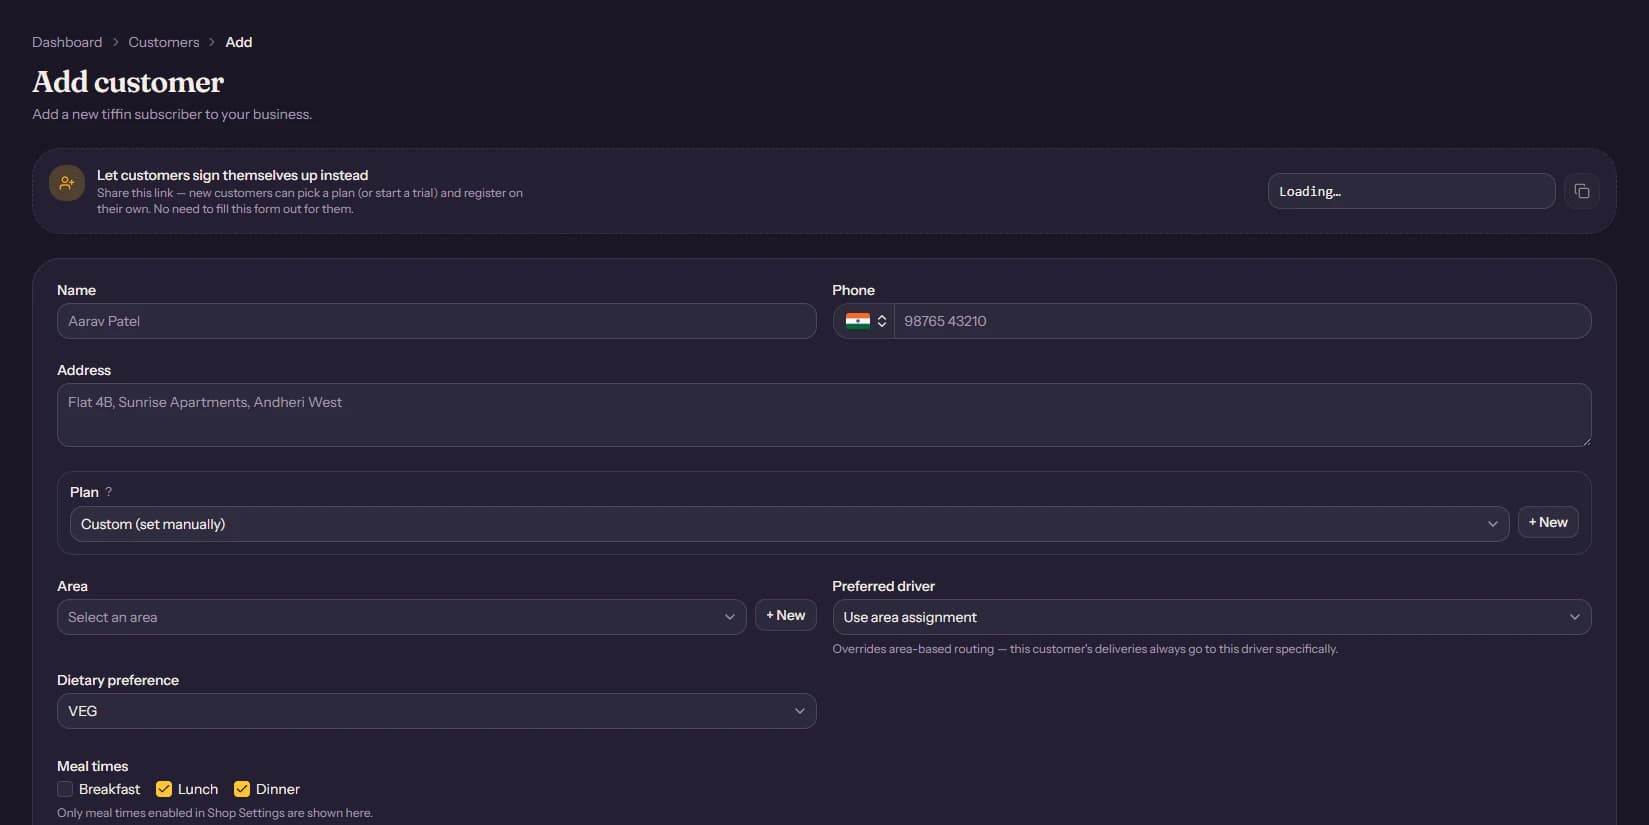
Name, phone, address. Basic identity. Phone is validated as a real number, since it is also how a customer logs into the portal (by OTP, no password).
Plan. Pick an existing plan and the meal times, price, and duration all lock to that plan automatically, see Plans. The "Custom (set manually)" option is shown but currently disabled, add a plan first if you do not have one that fits yet, there is a + New shortcut right next to the dropdown.
Area. A delivery zone, if you have areas set up under Deliveries → Areas. Assigning an area lets any driver covering that area see this customer's deliveries.
Preferred driver. Optional, and overrides area-based routing. Use this for a customer who should always go to one specific driver regardless of area.
Dietary preference and meal times. Meal times are locked once a real plan is selected, only "Custom" allows picking them freely (currently disabled, see above).
Amount. Locked to the plan's price once a plan is selected.
Extras. Any catalog item tagged "Extra" can be added on top of the base plan price, see Menu & Extras. The total shown updates live as you check items.
Delivery days. Which days of the week this customer gets a tiffin at all, at least 3 days must stay selected. Fewer delivery days per week means it takes longer to receive all of a plan's deliveries, since a plan's duration counts deliveries, not calendar days.
Start date and end date. With a real plan selected, the end date is computed for you from the start date, delivery days, and plan duration. With Custom (when it becomes available again) you would set it directly.
Free trial. Marks this period as a free trial rather than a paid subscription. The trial length comes from your organization's settings. Once a subscription has a real payment recorded against it, this checkbox locks, a paid period cannot be turned back into a trial.
Notes. Free text for delivery instructions or anything else worth remembering about this customer.
After saving
Saving creates the customer and, if the subscription is a real (non-trial) plan, a pending payment for that first period. You will see it on Payments, and can mark it paid once the customer pays and you have confirmed it, or approve it directly if they already uploaded a UPI screenshot through the portal.